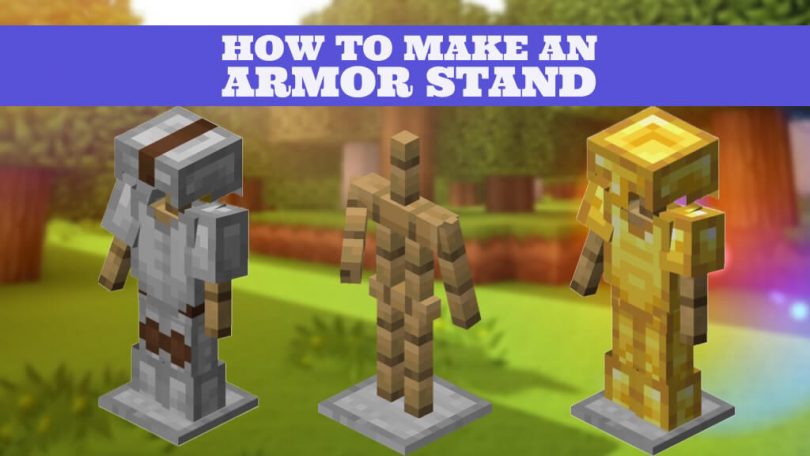
This Minecraft tutorial explains How to make an Armor Stand in Minecraft with detailed screenshots and step-by-step instructed process.
One of the things that make the Minecraft game most interesting is certainly its infinite possibility of creating things that faithfully reproduce the reality in which we live. And what’s more “real” than the clothes we wear or armor? Well as you know the chapter of armor is fundamental in Minecraft because they are the tool par excellence able to defend the player’s body in battles, and it really makes the difference by giving you an edge in fighting. But once the fight is over and the truce follows victory, where to put your armor, shields and helmets? That sounds like a really good question.
In fact, how many times have we witnessed great players show off or even worship as gods the armor with which they have won great fights and hard battles? When it happens it is because Minecraft, aware of the importance of this distinctive element, has made a very special device available to the player: the armor stand. In fact, on this “skeleton” each player can place his armor in a precise and orderly way, both to be able to reuse it when needed and to be able to admire it, flaunt it and show it to his friends, on whom, it must be said, always has a certain effect . It is in effect almost a status symbol in the warrior world of Minecraft.
I’m sure you too are dying to have your armor stands to show off, with beautiful armor that always reminds you of your level, who you are in the Minecraft world. Building them is really the simplest thing you can do and once you have learned how to do it you will get more and more taste for it. Furthermore, the necessary materials are not many and moreover they are easily available. So there is really no reason to be scared and put your most beautiful armor in a hidden and lost trunk. Take heart and create armor stands! You will make a great impression! So follow these very simple steps that I am about to illustrate and immediately start showing off your strength as a fighter. Let’s start!
Here there are materials needed to create an armor stand in Minecraft:
| MATERIALS | UNITS |
| Stick | X 6 |
| Polished stone slab | X 1 |
| Wooden Planks | X 12 |
STEP 1: Obtaining and processing materials


First, if you want to make the armor stand you will need to get a cane. To get the stick, lay a workbench along the ground and insert two units of wooden planks into the crafting grid. In this way you will immediately have a staff that you will need to build the skeleton of the armor stand pedestal. Collect it and store it in a trunk. The other element we need to build the armor stand is a smooth stone slab. To obtain this material the procedure is not complex. Just follow a few simple steps carefully. First go get some stone blocks. You can really find them everywhere because Minecraft is really abundant in this hard and resistant material.
Once you have collected the stone blocks, work them in a furnace. By doing this you will get some blocks of polished stone, which are exactly what we need to build the armor stand. Now that you have the polished stone blocks, open your dear workbench again and insert the three units of polished stone you just procured into the crafting grid. This will give you six units of polished stone slab! Very easy! As I told you, getting the materials needed to build the armor stand is really a breeze! Seeing is believing. Now that you have all the materials available you can safely go ahead and carefully follow the next step. We are almost there.


STEP 2: Construction of the armor stand pedestal
Now pay close attention. First take your workbench and place it along the ground. Now right click. The crafting grid will appear. Inside it, place six stick units inside the grid squares first. Once this is done, always insert a unit of polished stone slab inside the manufacturing grid in the remaining squares. I know you won’t believe your eyes, but believe me, as if by magic you will see your wonderful, superb, fantastic armor stand appear in an instant! I know you don’t mind putting your armor back in there. So follow the next step to fully understand how to use it.

STEP 3: Store the armor properly
First, choose carefully where to place your armor stand. In the world of Minecraft this is not a trivial aspect, as remember that your vanity could be punished. In fact, if you do not use the appropriate precautions any enemy could rob you of your armor and you would find yourself losing it only because you have succumbed to the temptation to flaunt it.
So think carefully about a safe place to place the armor stand. You could also consider the possibility of making some ingenious system to expose the armor and at the same time make it invulnerable to theft. In short, give space to your creativity using all the skills you have acquired in the game. Do not forget that you are a great warrior and as such you must also act in this apparently secondary aspect.
In this way your armor will make even more impression on your enemies and will collect admiration and a pinch of envy among your friends who will appreciate not only your strength but also your great wisdom, as it also happens in the real world. Minecraft is nothing more than a nice and playful projection of it in the gaming world. There is a lot to learn and I’m sure you’ll thank me for this tip! Once you have made an appropriate place for your armor stand, place it on the ground.
Now move each piece of the armor to the quick slots and then go interact with the armor stand in order to transfer the armor to the pedestal. When you want to collect the armor from the stand, simply interact on the individual pieces to remove them from the pedestal and transfer them back to the quick slot. Really extraordinary!


[All screenshots are taken from “Dreamtastix” YouTube Channel]