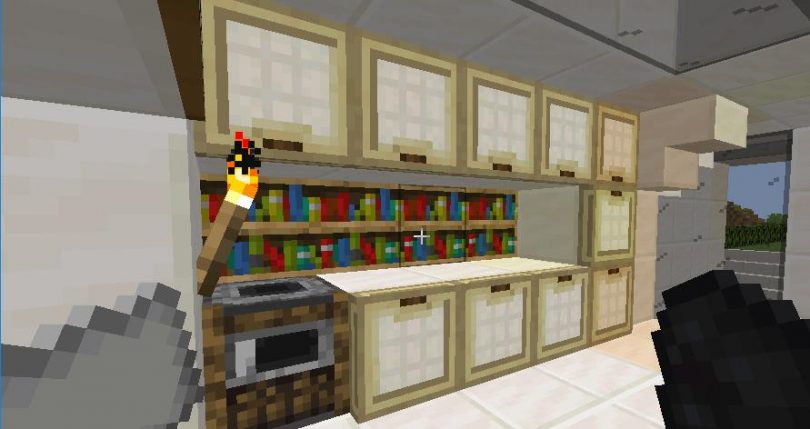
This Minecraft tutorial explains How To Make a Smoker in Minecraft with detailed screenshots and step-by-step instructed process.
Minecraft is a world in all respects. Within the game, life flows between struggles, projects, friendships, feuds and moments of rest. When building a foundation for survival, you have to think about all the necessities of life exactly as they do in the real world. And among these, nutrition, whether it concerns you or your favorite pets, cannot be missing. One of the tools that absolutely cannot be missing in your base is definitely the smoker. The smoker in fact is used to cook foods such as meat, fish and much more but unlike what happens with the furnace, another precious resource of the game, the smoker uses faster cooking. In fact, the smoker is twice as fast as the furnace in cooking food.
It is a really nice tool that also gives that touch of familiarity and warmth to the house that must not be missing. After all, it is really easy to make it because it really requires few materials that can be easily found in the world. All you have to do is insert them into a manufacturing process to get the smoker you want so much, with all the consequent advantages. In this guide I will show you how to make a smoker in a few simple steps. You just have to follow them carefully and get to work immediately. It will be a lot of fun. Let’s start!
Required Materials to create a smoker:
| Image | Name | Quantity |
 |
Furnace | 1 |
 |
Wood/Logs | 4 |
Creating a Smoker is very simple: you can choose crafting if you are in survival mode, so follow the first option. If you are in creative mode, go directly to the second option.
OPTION ONE: CRAFTING A SMOKER IN SURVIVAL MODE
1. Open the workbench grid
First, lay a workbench along the ground and right-click on it. A crafting grid similar to the one you see in the photo will open for you:
All you have to do is place the different materials inside the grid squares in the right order.
2. Place the materials in the fabrication grid
Now follow carefully how to insert the different materials into the manufacturing grid. You can help you by referring to the photo you see below:
First insert the furnace into the center square of the crafting grid. Once this is done, insert the four woods in the central square at the top and bottom and in the two empty squares next to the furnace. As if by magic you will see a beautiful smoker appear! Easy right?
3. Collect the item
Now you just have to click on the smoker and drag it to your inventory so you can use it when you need it. Really easy!
OPTION TWO: FIND A SMOKER IN CREATIVE MODE
You can easily find a smoker, if you are in creative mode, in the “Decorations” section
[All screenshots are taken from Dreamtastix YouTube Channel]
