This Minecraft tutorial explains How To Make a Painting in Minecraft with detailed screenshots and step-by-step instructed process.
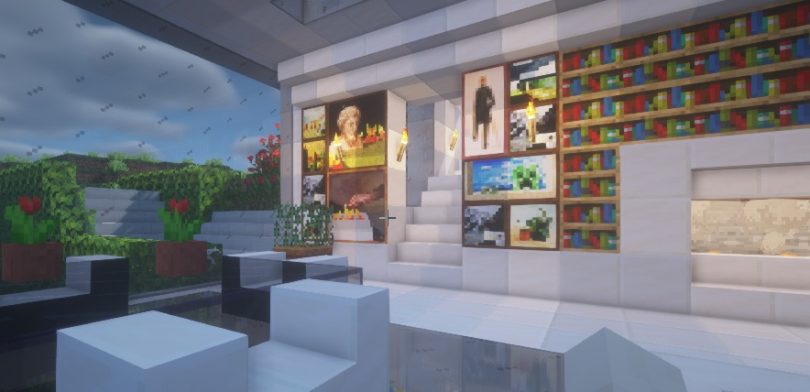
Creativity explodes when building a survival base in Minecraft! You feel enthusiastic about what you are doing, about the land conquered all for yourself and about your home. We therefore begin by trying to give the house a pleasant appearance, which fills it with warmth and familiarity. The different materials, colors, decorations, furniture are chosen, libraries are inserted here and there with fireplaces, kitchens, beds and so on. At some point, however, when the work is finished you may feel that something is missing. That something that makes your survival base unique, decorates it and gives it even more meaning. This something could just be a painting!
In fact, each painting is undeniable that it gives that extra touch that decorates in detail and finally makes a room or a small corridor perfect! In this guide I show you how to make wonderful paintings in a few simple steps without really any effort! After all, the materials to be used are not many and the result will be truly exceptional. With paintings your home will have a unique style and everyone will love it. Remember that you can also place light points just above the paintings to highlight the beauty, or use them to hide a secret access to a hidden room or an escape route that you don’t want anyone to notice. The uses are really many and they are not limited to a simple aesthetic function! Seeing is believing. Well then let’s get started now!
Required Materials to create a Painting in Minecraft:
| Image | Name | Quantity |
 |
Sticks | 8 |
 |
White Wool | 1 |
Creating a Painting is very simple: you can choose crafting if you are in survival mode, so follow the first option. If you are in creative mode, go directly to the second option.
OPTION ONE: CRAFTING A PAINTING IN SURVIVAL MODE
1. Open the workbench grid
First, lay a workbench along the ground and right-click on it. A crafting grid similar to the one you see in the photo will open for you:
All you have to do is place the different materials inside the grid squares in the right order.
2. Place the materials in the fabrication grid
Now follow carefully how to insert the different materials into the manufacturing grid. You can help you by referring to the photo you see below:

First insert the white wool block into the central square of the manufacturing grid in the workbench; finally fill all the remaining squares with eight sticks: you will see a beautiful painting appear as if by magic in the large square on the right!
3. Collect the item
Now you just have to click on the painting and drag it to your inventory so you can use it when you need it. Really easy!

OPTION TWO: FIND A PAINTING IN CREATIVE MODE
You can easily find a Painting, if you are in creative mode, in the “Decorations” section

All screenshots are taken from Dreamtastix YouTube Channel